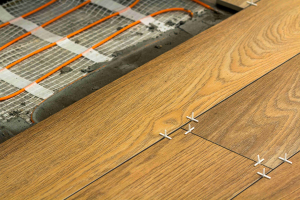
Laminate flooring is a popular choice for high-traffic areas, which pays testament to its significant durability. Since it can mimic other flooring types, there’s also huge diversity in the different styles on the market. When looking for new flooring, strength and ability to cope with regular wear-and-tear is often a determining factor when making a choice. Often seen in hallways and living rooms, laminate is now being laid on one of the most high-traffic areas in most homes – stairs. This makes us think about the process of how to install laminate flooring on stairs.
Although like all flooring, it has its own oddities when it comes to installation, it’s moderately easy to install yourself if you’ve got the time and the right tools. If you’re averse to finding a fitter and would rather fit it yourself, use this step-by-step guide to help you.
We've also put together this handy video, which walks you through the process of fitting laminate in a regular room.
Back to installing laminate flooring on stairs, there are a few steps and best practices you should take.
Jump to:
Preparation
- Choose your flooring
- Acclimatise the laminate
- Remove existing flooring, paint or adhesive
- Remove step overhangs
- Measure your stairs and cut your laminate
Installation
Finishing
Preparation
_
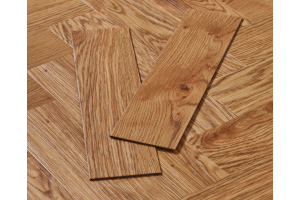
1. Choose your flooring wisely
The first step in laying laminate flooring is choosing what style is best. Don’t just consider how it looks, consider practicality also. Laminate can be notoriously slippery. Not ideal when you’re heading up or down the stairs on a regular basis, or if you’ve got small children in your home. For this reason, you should choose a rougher, more textured laminate to mitigate the risk of slipping. You also need to purchase nose stripping that matches your choice (we’ll explain this further in this guide).
_
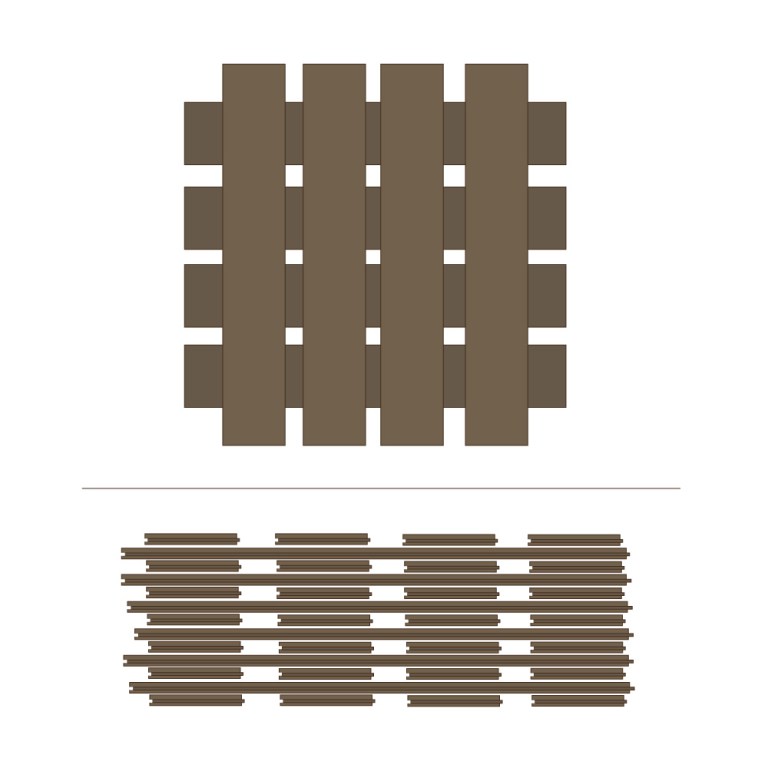
2. Allow the laminate to acclimatise
Once you’ve decided on the perfect look and feel, the next step is to acclimatise your flooring. To do this, open up the boxes of laminate and lay them in a lattice shape. This allows air to flow through so the laminate can adjust to your home’s temperature and humidity. You should leave your flooring like this for at least 72 hours before laying. By allowing your laminate to acclimatise, this prevents it from warping, expanding or contracting in the future.
_
3. Remove existing flooring, paint or adhesive
If you’ve already got flooring on your stairs, remove it along with any underlay. Even if there’s no flooring, but paint or remaining adhesive from the previous flooring, clean this away to give yourself a blank canvas to lay your laminate on. If you’ve got carpets, you can quite easily pull this up using a pair of pliers. For any tack strips or carpet grippers, the quick video below shows the easiest way to do this.
Extra Tip: Your sub-floor will need to be as flat as possible before laying your flooring. Chip away any excess dirt and even sand down wood stairs to create the perfect flat surface for the laminate.
_
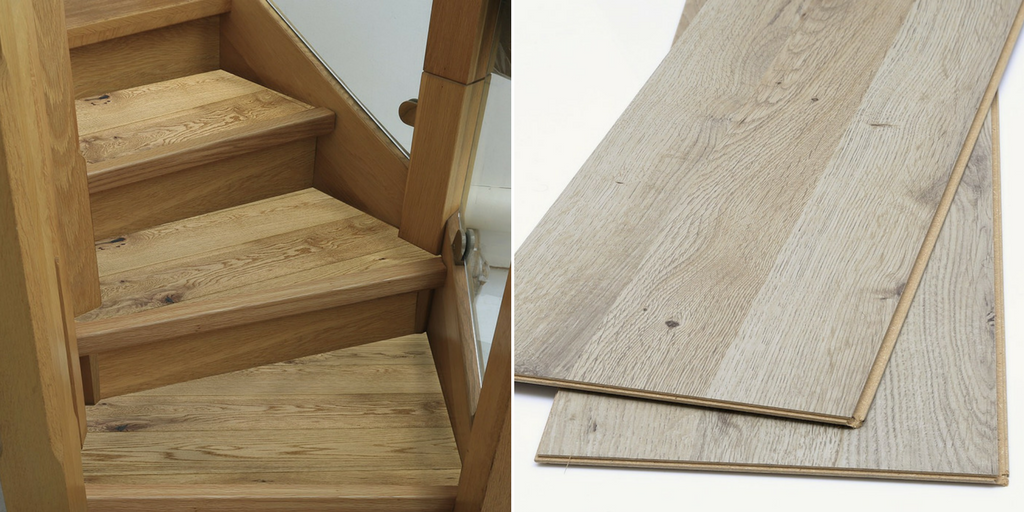
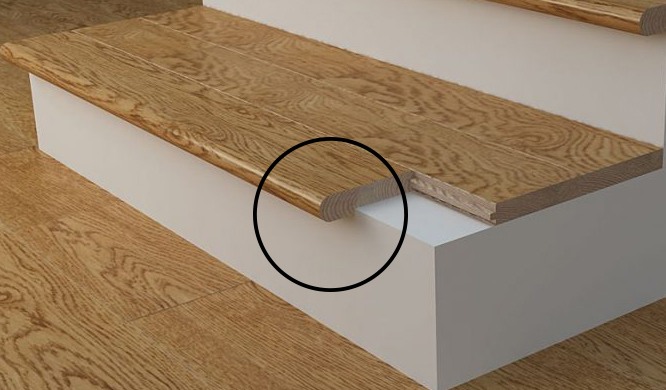
4. Remove overhang on any steps
Many of you will find that your stairs have an overhang. You’ll be using the nose stripping you purchased to create an overhang yourself once the laminate has been laid, but for now, you need a surface that makes it easy to install your laminate. You can either use a jig saw to cut away to overhang, or use a piece of plywood to fill in space.
_
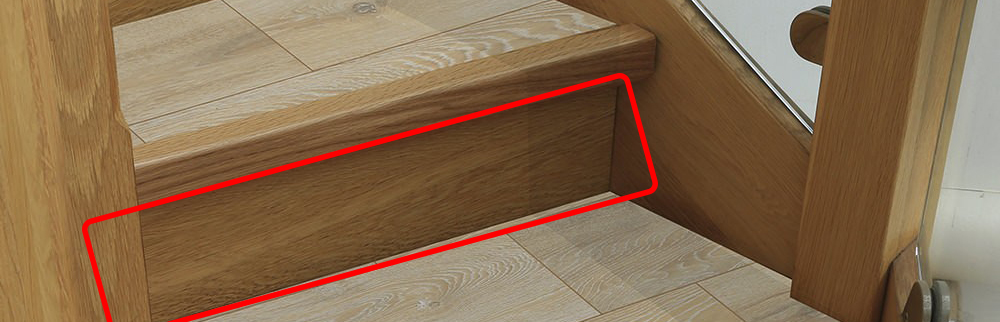
5. Measure your stairs and cut laminate to fit
There are three pieces you will need to cut from your laminate, and it’s best to get these ready before you start installing:
- Tread pieces (the top of the step, where people will stand)
- Riser pieces (the front piece on the vertical side of the step)
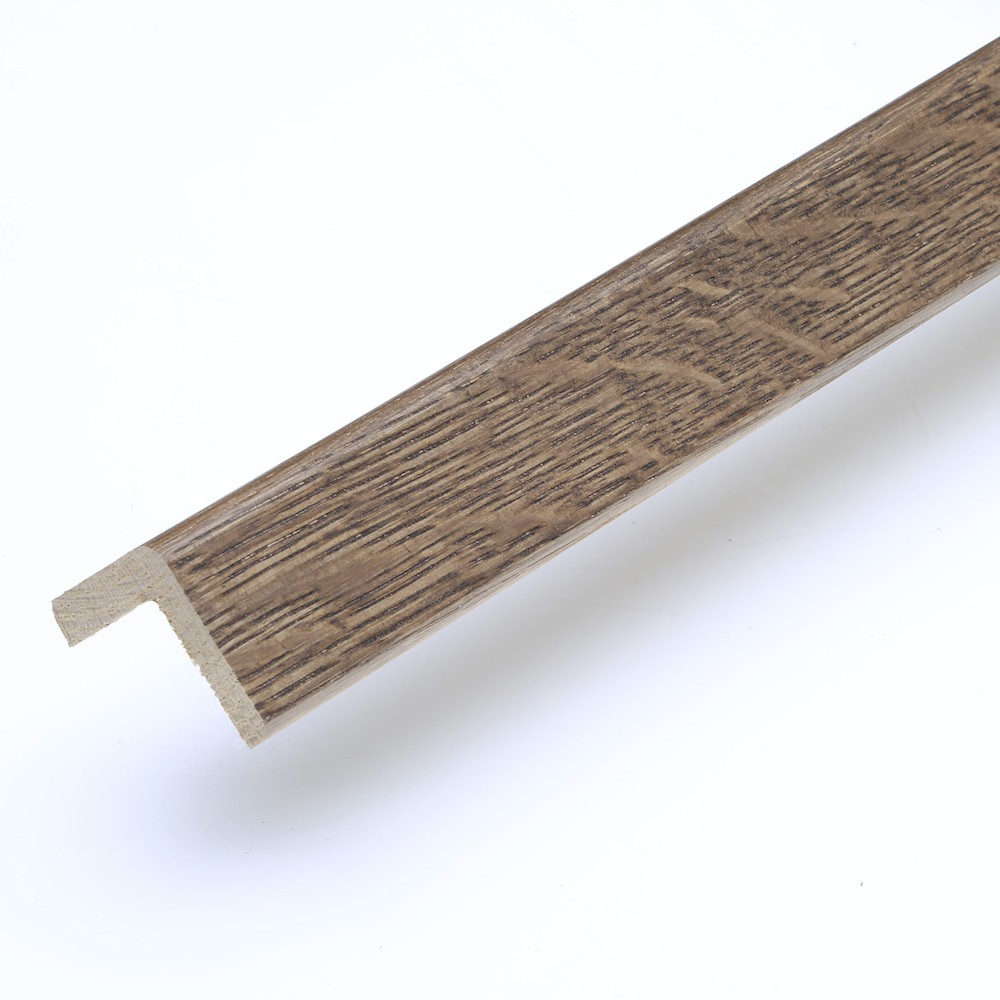
- Stair nosing (the corner piece which will create an overhang)
The tread pieces should fit from left to right as closely as possible, so getting your measurements right is critical. Most laminate boards won’t cover the full step, so you may need to cut from a second board. Glue them together tongue to groove to keep them secure for fitting. With this being said, it doesn’t need to fit all the way to the front edge of the step. There needs to be some room left for the nosing. It’s much of the same for the riser pieces – just ensure they’re perfectly aligned with their corresponding tread piece and trim if necessary. Finally, cut the nosing to the same length as the tread and riser pieces. If the angle of the stairs makes it an awkward fit, you can trim the edges as required.
Installation
_
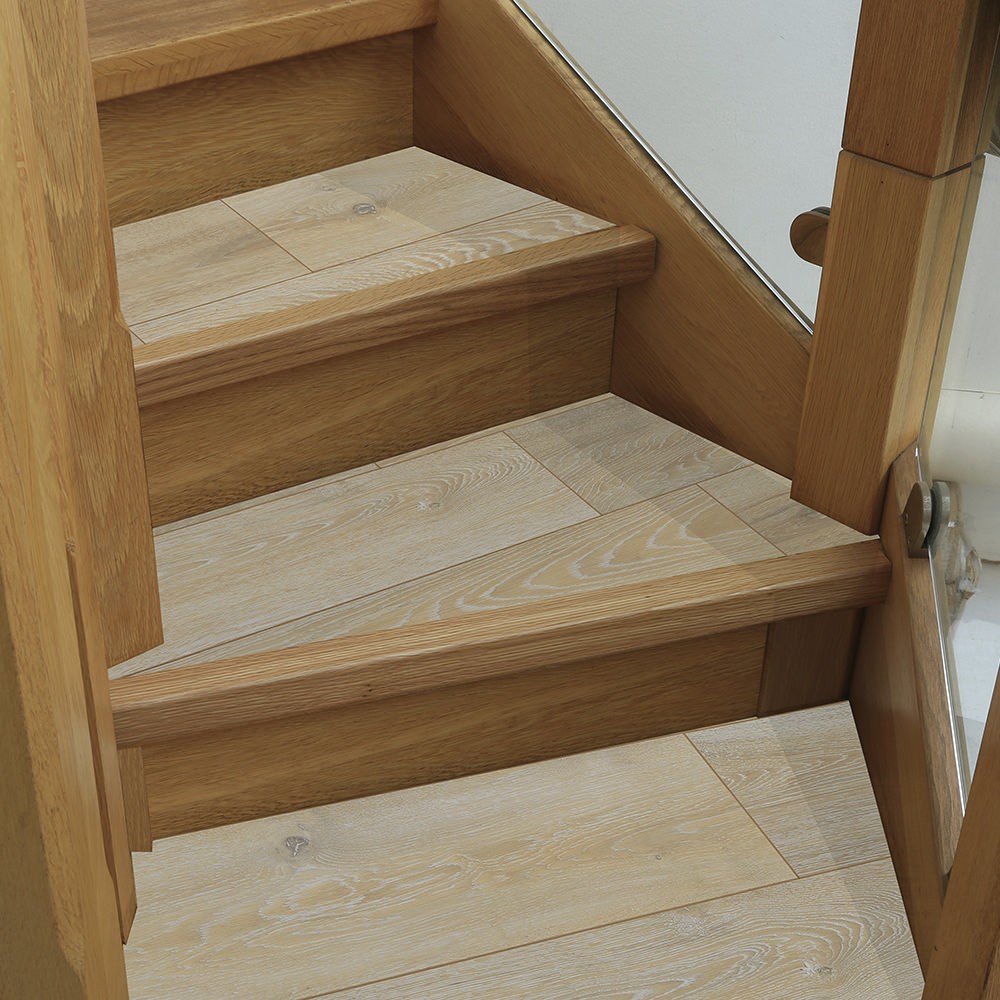
1. Lay the tread
The first part of the stair you need to install is the tread piece. Using high-quality wood glue, apply three beads onto the back of the tread boards you glued together earlier. Lay it carefully so it’s tight to the back step with the tongue edge of the laminate facing outwards.
Extra Tip: Start at the top of the stairs and work your way down. This avoids standing on the freshly laid laminate, which needs time to allow the glue to dry.
_
2. Install risers
Apply the wood glue as you did on the tread pieces of laminate, and press it into place on the vertical part of the step. You’ll need to hold the riser firmly in its place for a couple of minutes to allow the glue to set. An optional way to secure the piece further is to nail the very top of the plank in place. There’s no worry of this being unsightly, as the nose stripping will cover the nail.
_
3. Fit the stair nosing
To install the nosing, apply glue to the subfloor – not the nosing piece itself. Press it firmly in place, with the tapered end overlapping the top of the thread piece. Then, screw the top nosing into place. Beforehand, cover the nosing with a strip of clear plastic tape, which will protect the laminate flooring. Mark spaces about 9 inches apart along the centre of the nosing. Drill a countersink hole and then insert wood screws. Leave the plastic tape on the nosing for now.
4. Take your time
It’s completely up to you how you lay your laminate flooring. Many people prefer to install all of the tread and riser pieces before adding in the nosing last, whereas others prefer to complete one step at a time. There’s no right or wrong way, just ensure you take your time and lay the laminate carefully. You want this flooring to last a long time, so it’s important to install it correctly to increase its longevity.
Finishing
_
1. Cover screw holes
Use flooring filler or putty to cover the screw holes on your stair’s nosing. Use a plastic scraper to carefully apply the putty and cover the screws. Once filled, you can then remove the plastic tape covering the nosing. After about 20 minutes, use a slightly damp cloth to even the putty before it fully dries.
_
2. Clean the laminate
The stairs need cleaning immediately after they’ve been finished to remove any excess dirt and putty/filler. The filler can be near impossible to remove once it sets, so get to it quickly! Get rid of any extra debris such as sawdust, and you can finally admire your brand new staircase.
_
3. Leave overnight
As much as possible, you should avoid using your stairs for at least 12 hours (although 24 hours is better). This gives the laminate time to settle and for the glue to set. It’s also why we suggest starting from the top of the stairs and working your way down.
There are many benefits to laminate flooring. Look through our huge range to find the perfect fit for your staircases. If you need any help, our friendly sales team are available on 03333 201933. If you'd like to install laminate flooring on stairs, our team are on hand with more useful advice should you require it.