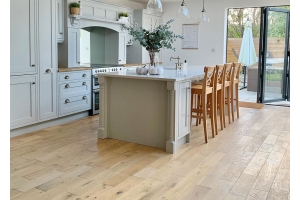
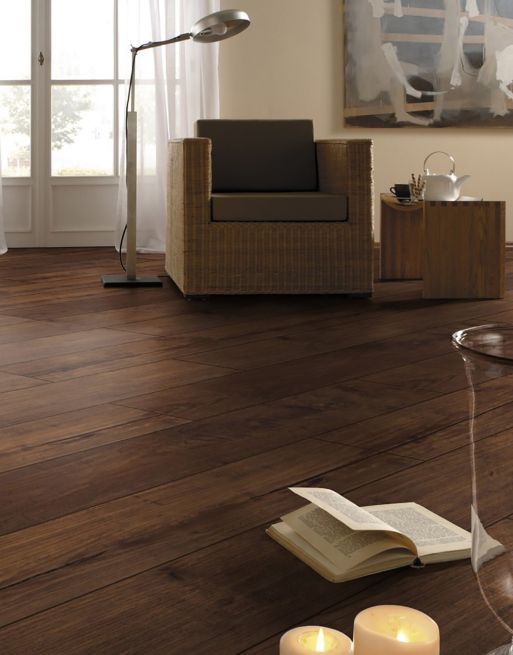
Fitting a new floor can make all the difference to your interior design. Laminate flooring’s a popular choice for its ability to mimic the look and feel of real wood, whilst offering added durability. However, this doesn’t mean it’s indestructible. Accidents happen, and so does wearing over time. Thankfully, the process for repairing a laminate floor is straightforward.
If laminate floorboards have experience damage, regular scratches and cracks can be repaired with the correct colour-match repair kit. When it comes to replacing a damaged laminate plank in your laminate flooring, determine the area the plank needs to be replaced as different areas, require different treatment. Replacement can be done by following our step by step guide below, though we'd recommend finding a professional fitter. Taking caution to prevent damage can stop the need to repair or replace. Regular cleaning, and felt adhesive pads for furniture are both ways to prevent damage to your laminate.
How you repair damaged laminate flooring depends on its severity. In most cases, you can prevent replacing damaged planks by using a repair kit. If the laminate is beyond repair, you’ll need to fit a replacement.
Making repairs to laminate floorboards
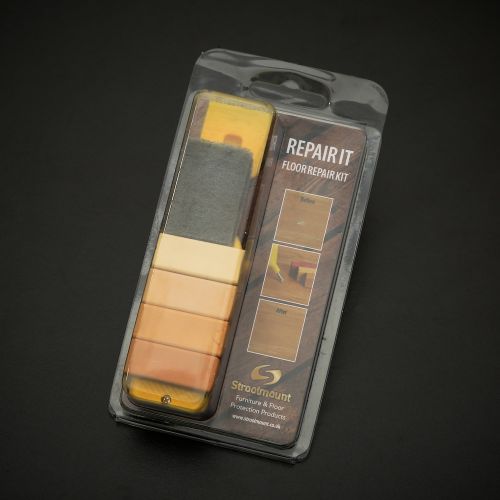
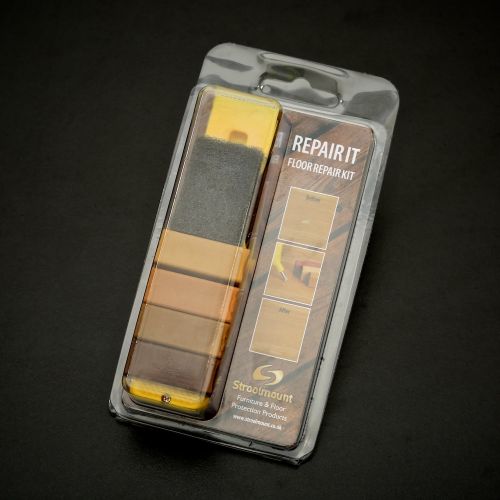
If one of your laminate floorboards has sustained damaged, there’s no reason to panic. Regular scratches and even cracks can be repaired with a floor repair kit. Available in different colours depending on your laminate’s colour, they’re simple to use with impeccable results.
 |
 |
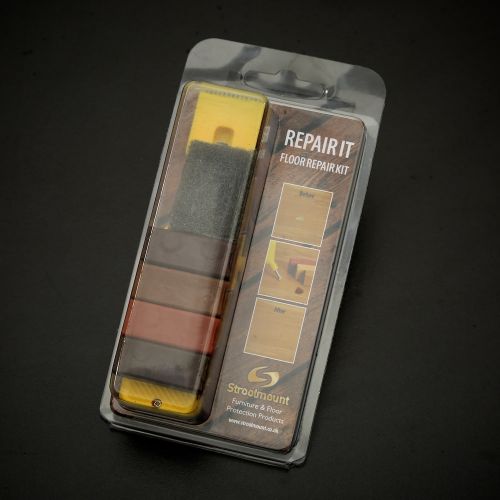 |
| Floor Repair Kit for Light Woods | Floor Repair Kit for Medium Woods | Floor Repair Kit for Dark Woods |
- To repair surface issues such as minor scratches, you’ll first need to clean your floor and ensure it’s dry. Excess dirt may prevent your repair kit form working its magic, and may actually scratch the laminate’s surface even more.
- Once your floor is clean and you have your repair kit on hand, it’s time to start repairing. Take a sharp chisel and round off the edges of any scratches, to help for a smoother finish.
- Take the heating tool from your floor repair kit and flick the safety catch, and press the button to heat up the tip. Press the heated tip against the hard wax, using two or three colours for a consistent wood-like finish. Drop the wax into the damaged area, filling the scratch or crack.
- You should always put more wax in than you need. It’s better to have too much than too little! Once you’re happy with the repair, use the rasp on the side of the heating tool to rub away any excess wax and ensure it’s level with your flooring. Don’t worry though – this won’t damage your flooring further!
- Draw in the grain detail if you need to, using the darker or lighter colours, then you’re finished! This video from Stroolmount from explains how quick and simple it is to use.
Replacing a damaged laminate plank
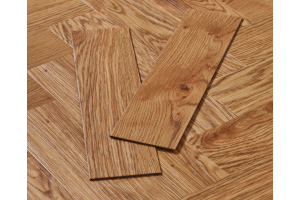
Sometimes, irreversible damage can’t be avoided. If this is the case, you may need to replace a plank in your laminate flooring. If you don’t feel comfortable doing this yourself, we’d recommend finding a professional flooring fitter to do it for you.
On the edge of a room
- Remove the scotia and skirting board from the wall
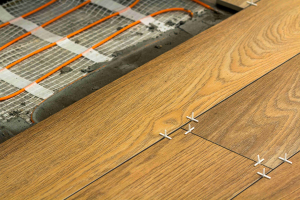
- Lift out the laminate planks, beginning with the ones closest to the wall. Laminate flooring is fitted using a floating installation, so you're not required to remove any glue in order to lift up a damaged plank.
- Replace the damaged plank and click into place
- Return the boards to their original place, working in reverse order
- Re-fit the scotia and skirting
In the middle of the room
- Use tape to mark the edges of the board to help with cutting
- Cut out the centre of the board. To make it easier, drill a few holes along the edges of the area you want to remove
- Cut from the centre hole to the outer edge and remove the remaining part of the plank
- Cut the tongue off the replacement laminate plank
- Apply wood adhesive around the edges on the underneath of the plank
- Place the board into place, then use a hammer and tapping block on one side until the plank fits snug
- Carefully wipe away any excess glue
- Now, weigh down the new plank for a couple of hours, and then clean your flooring to ensure any debris or remaining glue is removed
Preventing damage
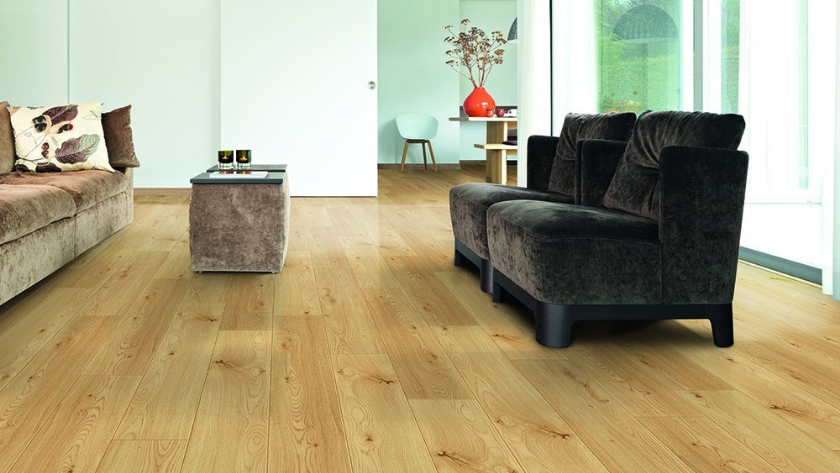
One of the main attractions of laminate flooring is a durable wear layer that covers the top of each plank. Without influencing the design, this extra layer means it’s resistant to scratches and is very hard-wearing. However, laminate isn’t impervious to damage completely. It’s important to take steps to prevent damage occurring in the first place.
Regular cleaning of your floor will prevent scratches. Keeping your laminate floor well-maintained will prevent a build-up of dirt and debris, which can lead to scratches on your laminate flooring.
In rooms with heavy furniture, fit felt adhesive pads to the underneath of legs to prevent scratches occurring. Even small movements over time can create damage, especially if contained to the same area.
For more advice on how to repair a laminate floor, get in touch by calling 03308 088777 or email [email protected].