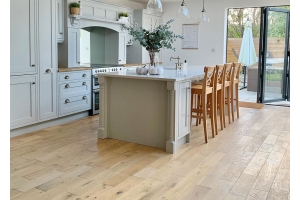
A brand new wood floor can completely change the dynamics of a room in your home or commercial property. Although it’s exciting to choose the perfect flooring, there’s preparation work that needs to be done first. One of the most important factors when it comes to your new flooring is your type of subfloor. A structurally sound and level subfloor is necessary to have your flooring looking its best. If it’s damaged, this can lead to uneven wearing and be detrimental to its longevity. So, what do you need to do when you’ve got a damaged subfloor?
Jump to:
- When to Replace a Subfloor
- Level a wooden subfloor
- Replace a wooden subfloor
- Level a concrete subfloor
There tend to be two main types of subfloor: concrete or wood. Removing your old flooring to reveal a damaged subfloor is, unfortunately, a common problem. While this may be the case, luckily there are different methods you can use to effectively deal with problems. Follow our simple guide so you know when to repair your subfloor, how to repair any damage and make sure your flooring will look perfect, and last as long as possible, once it’s been fitted!
_
When to Repair Your Subfloor
You know what they say, a strong foundation is the key to long term success. And the foundation of your flooring is no exception. Subfloors, though not noticeable once your flooring is laid, is still an important factor in the longevity, stability and wearing of your flooring.
But how do I know my subfloor is in good condition?
Let's take a look at some common signs your subfloor needs replacing:
- Uneven sections in your flooring - This could mean the subfloor below is damaged, effecting the ability to provide a level surface, consequently altering the appearance of the flooring above.
- Squeaky floorboards underfoot - If you have wooden floorboards as your subfloor and there appears to be excess noise pollution when walked on, this may mean it is time to replace them. Over time, wooden floorboards will have experienced a significant amount of traffic causing movement. This can loosen nails connecting the boards.
- Smelling mould or mildew - If you're experiencing musty smells, this could mean replacing or repairing your subfloor. Musty odours is a key sign of water damage, and reparation or replacement is the best option to eradicate this.
- Your floors shift or bounce when you walk on them - If you're experiencing spongy, bouncing motions or shifting with your flooring, this could mean your subfloor needs replacing.
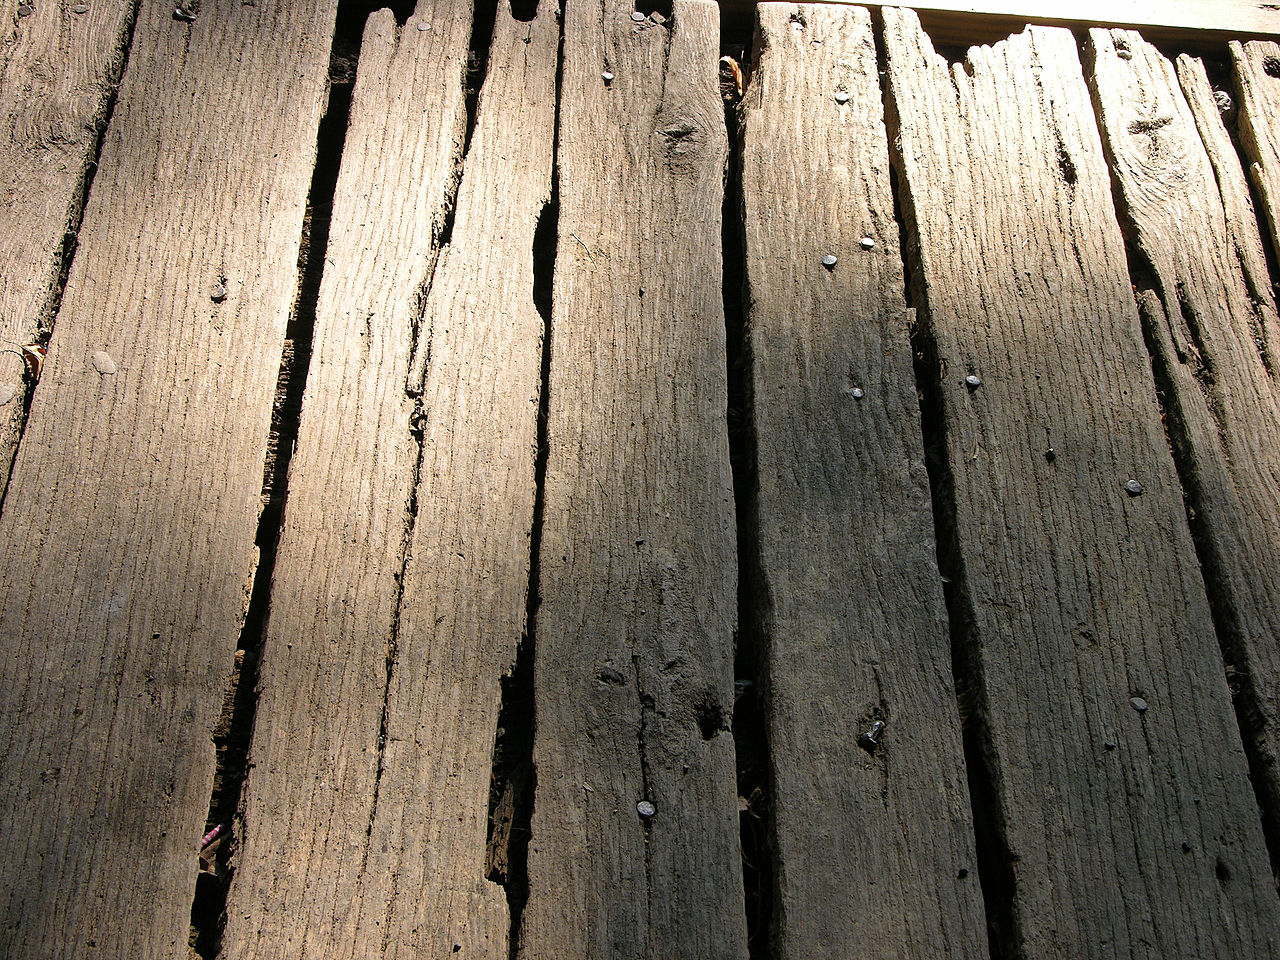
Wood
Many properties will reveal old floorboards when the existing flooring is taken away. Whilst a wooden subfloor offers you flexibility when it comes to fixing methods, it can be a hurdle to overcome if damaged. Where some issues can be fixed, you may be required to completely replace a wooden subfloor if the damage is too extensive.
_
How to level a wooden subfloor
You need your subfloor to be as level as possible. This helps your new flooring to fit easier and to look its best. When you’re installing your new floors, you can either lay them straight on top of the existing wood, or use hardboard sheets. We’d suggest using hardboard sheets, which are easier to get perfectly level. Plus, they will help to reduce draughts underneath your flooring.
Preparation
Before fitting your hardboard sheets, you’ll need to condition them. This is simple to do – just spray a little water over the textured side and stack them back to back in the room they’re going to be laid in. You should then leave them there for 48 hours. You do this to allow the hardboard to ever so slightly expand. This way, they will dry and tighten, which is the preferred option to expanding and buckling once laid.
Levelling the floorboards
Even if you’re using hardboard, you’ll need to make sure the wooden floorboards underneath are void of uneven bumps. Firstly, you should hammer any protruding nails into the floorboards. Next, sand the down so it’s as level as possible. You can fill in any depressions using a wood floor repair compound for a perfectly level surface.
Fitting hardboard sheets
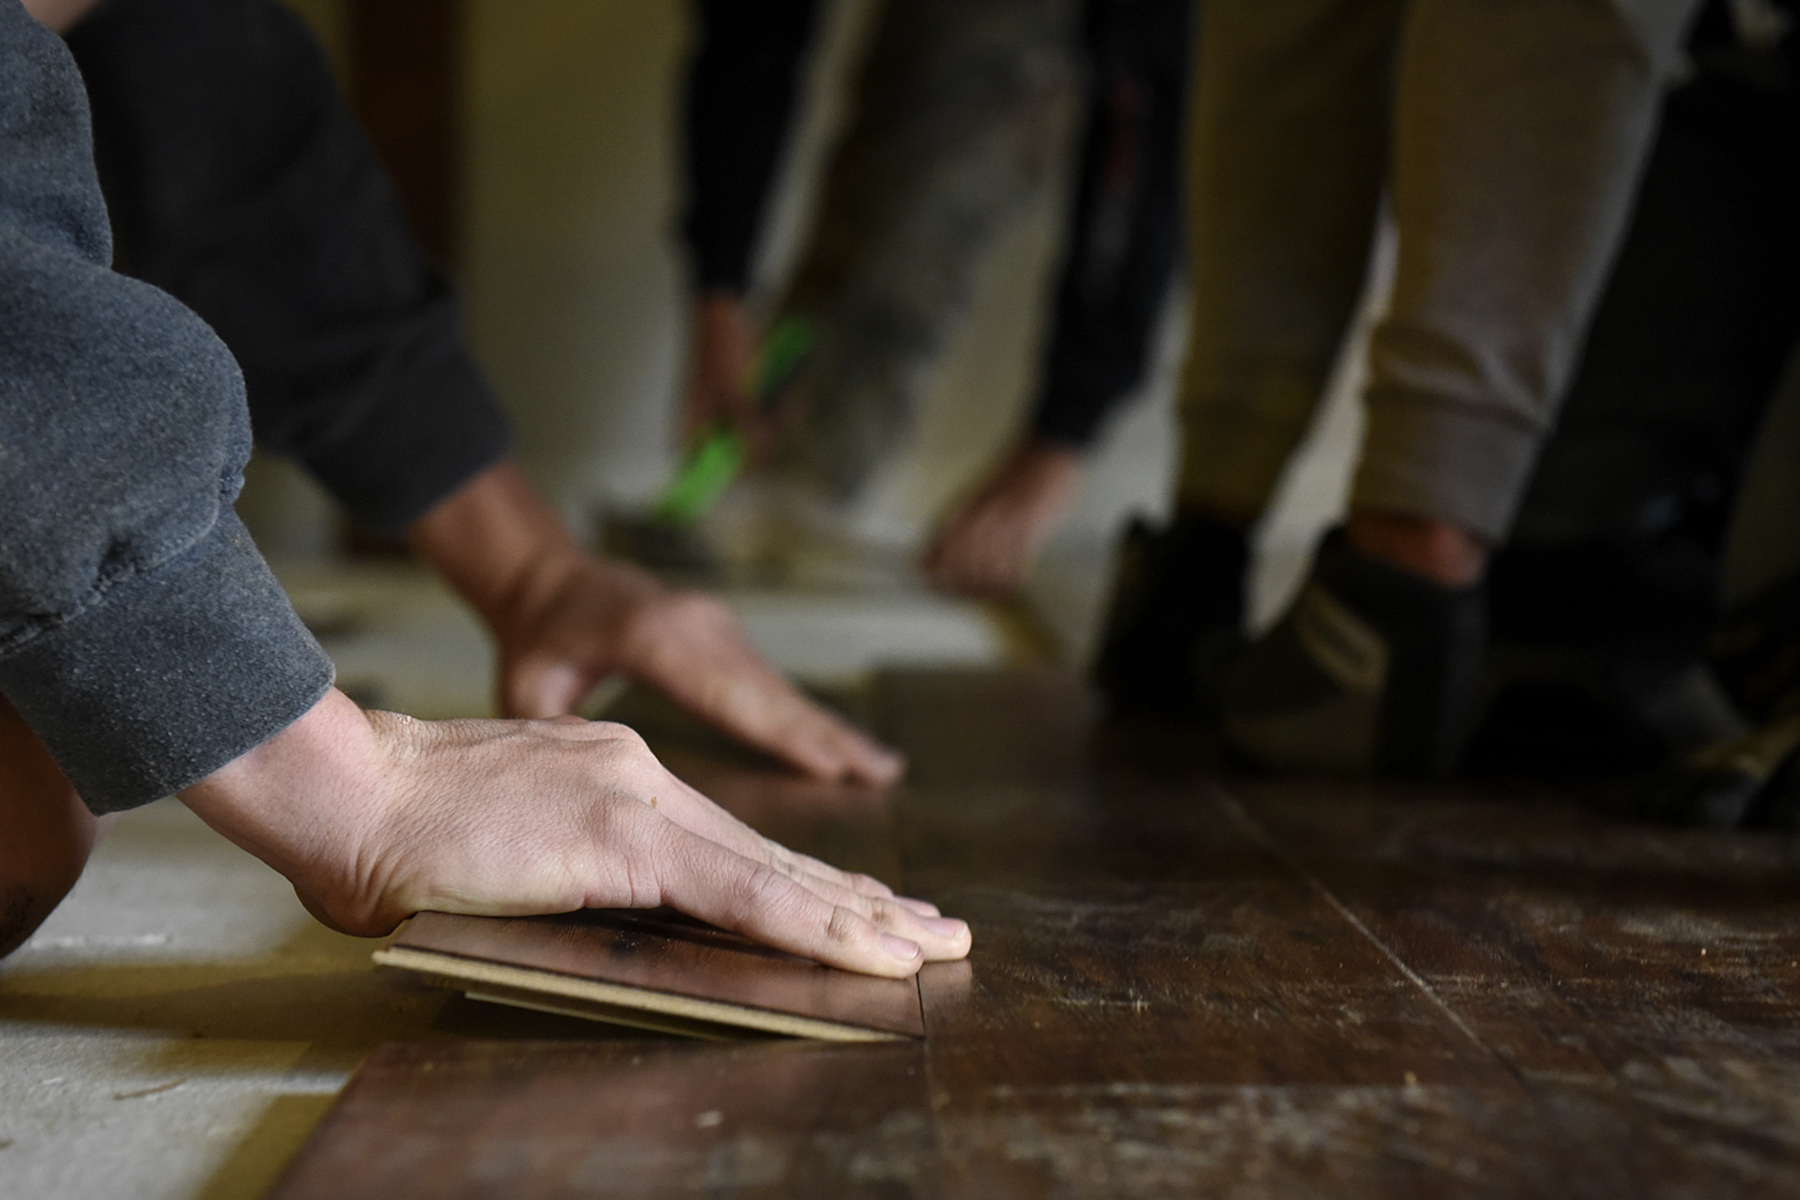
- Start in one corner of the room and begin to nail the hardboard into the subfloor. Your nails should be 10-15mm in from the edges. When nailing, fix the nails in a pyramid pattern to prevent the sheets from buckling as you’re nailing them down.
- Lay the next piece of hardboard tightly next to the previous sheet. Nail along the meeting edge first, then continue with the pyramid pattern. Once you’ve finished the first row, cut the last one to size and nail it in place.
- Using the off-cut from the previous row, begin laying the second row in the same way. Continue in the same fashion for the rest of the floor to ensure there's limited wastage and staggered joints. Once all of the hardboard sheets are down, you should have a level subfloor ready to install your brand new wood flooring.
_
How to replace a wooden subfloor
If a lot of your floorboards show signs of significant damage, you may be better suited to removing the old wood completely. If you need to do this, you can replace them with chipboard flooring panels quite easily. This way, you’ll have a level, solid foundation for your wood flooring to cover.
Fitting chipboard panels
- Start fitting the chipboard from one corner of the room. The first panel’s longest side needs to span the joists, with each end resting on a joist. If the board is too big, you can trim it to size. When you lay your first board, leave around an 8-10mm gap between the board and the wall to allow for expansion.
- Nail the chipboard to the joists, keeping each nail around 20mm away from the edge of the board. Make sure to mark the location of any pipes or electrical cables. Leave a 300mm gap between each nail in a line to ensure a solid fixing to the joists.
- Many chipboard panels will have a tongue and groove fitting system, which makes for very easy and quick fitting. You should be able to just slot them together. Once you’ve laid your first panel, check if the second panel’s tongued end meets a joist once it’s been fitted. If it doesn’t, you’ll need to cut as required. Apply wood adhesive to the tongue of the first panel and slot the second panel in, wiping any excess glue away with a damp cloth. Then, nail down the second panel as you did the first.
- If you had to cut the second panel in order to meet a joist, you’ll need to cut the grooved end off of the next panel. You can then glue both panels together over the joist. Try to cut strategically, so that the tongue groove will meet a joist and you don’t have to cut the groove from the next board.
- When you get to the final panel, you’ll need to cut this to size. Make sure you allow for the 8-10mm expansion gap. When you move onto the second row, start at the opposite wall to where you started the first row. This ensures staggered joints throughout the subfloor.
- To ensure the tongue and groove pieces fit together tightly, use a tapping block and hammer to gently drive each piece together. If you don’t have a tapping block, then an offcut from the first row will work just as well. When it comes to the final row, you’ll need to measure and cut accordingly; again, allowing for the 8-10mm expansion gap.
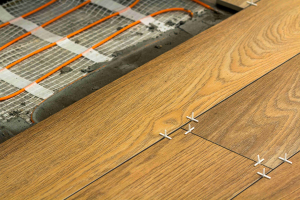
Concrete
If you’ve got a concrete subfloor, you’re more limited to the fixing method you choose. For example, we advise against using secret nailing to fit on concrete (for obvious reasons). Instead, most people opt for floating or glue-down installations.
If your concrete subfloor has any visible cracks or holes, you’ll need to fill these and then smooth to create a level surface. Once level, using a self-levelling compound will create a smooth and level surface for laying your wood flooring.
_
How to level a concrete floor
- Brush cracks or holes with water. This will dampen them and prevent the concrete filler from drying too quickly, which can lead to cracking.
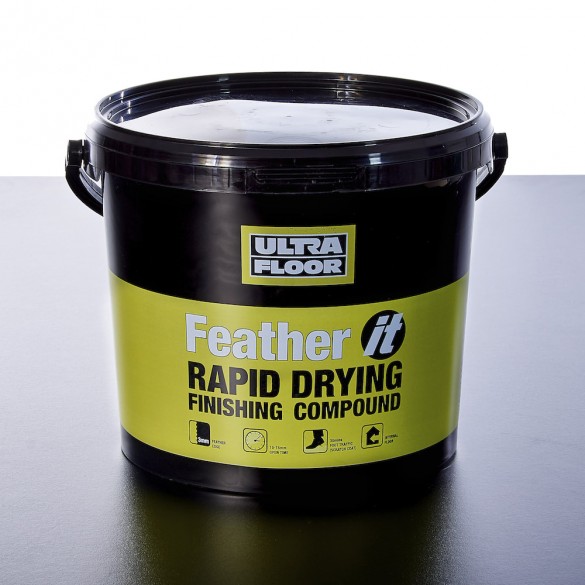
- For large cracks and holes, use a mixture of sand and cement mortar. Once filled, use a trowel to smooth the mixture to create a level surface and leave to dry. For smaller cracks, you can use rapid drying repair mortar.
- Once dry, pour a small amount of water onto the floor and brush it to cover the surface. You only want to dampen the surface, not flood it.
- Follow the manufacturer’s instructions to mix your self-levelling compound. Begin pouring the mixture in the corner that’s furthest away from the entry doorway. Use a plastering trowel to spread the mixture across the floor, creating a layer that’s around 3mm thick. Whilst you’re levelling the surface, ask someone to mix the next load of compound.
- The compound will set in around 15 minutes, so it’s important to work quickly. Don’t rush it though – 15 minutes should be plenty of time. Once you’re done, leave the compound for around six hours; although you might not have to wait this long depending on the exact compound you use.
Once you’ve got a sound and level subfloor, you can focus solely on fitting your dream wood flooring! Check out our series of wood floor fitting guides to help you with the next steps, or see our advice on how to find a flooring fitter.