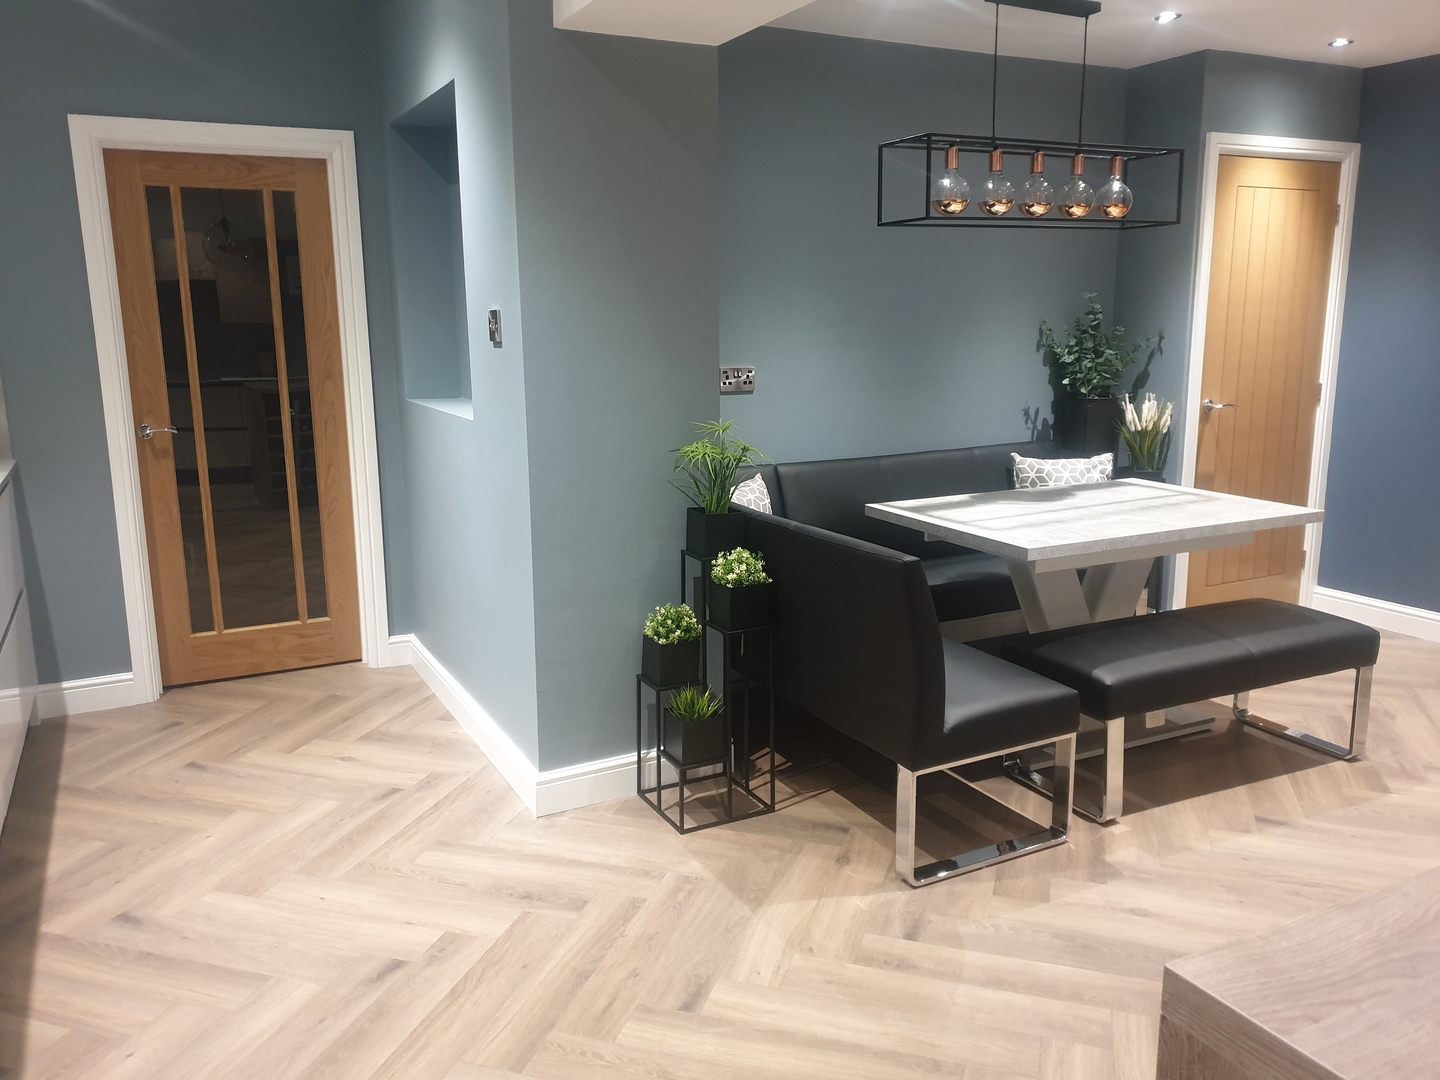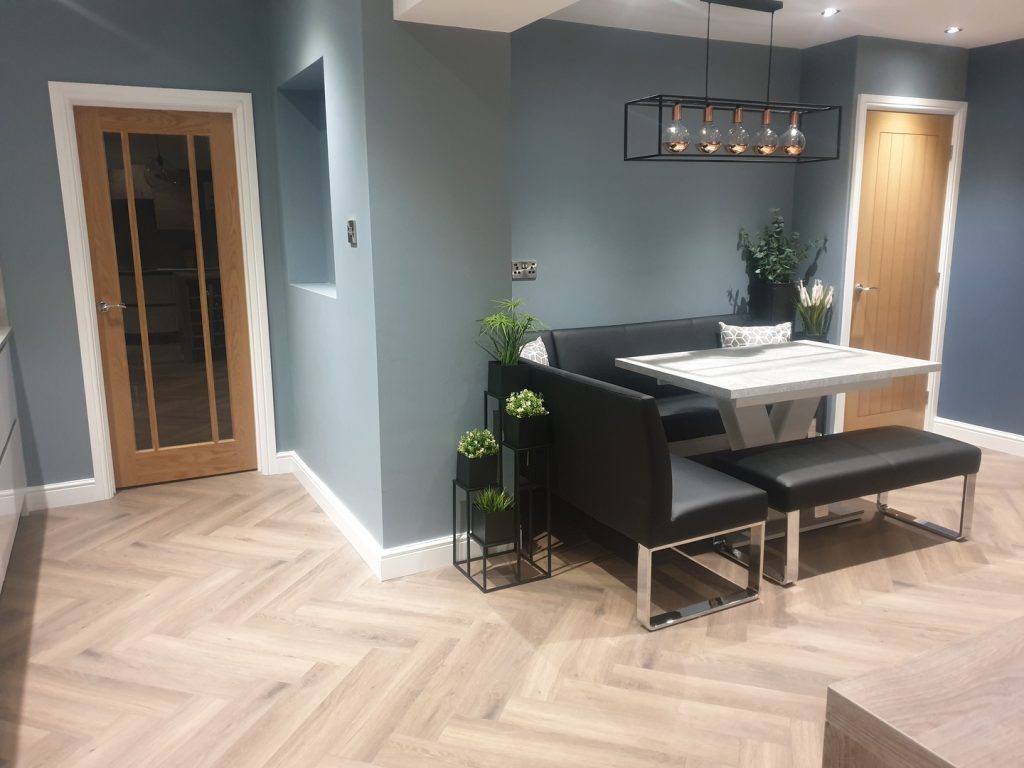
Are you in love with the popular timeless classic Herringbone style flooring? That’s perfectly understandable with all of its character and charm, as well as being available in laminate. Stylish and practical at a budget friendly price. Whilst laminate is often very easy to fit, a Herringbone Laminate installation often leaves first time fitters and keen DIY'ers asking “can I lay Herringbone flooring?” due to its intricate design.
If you’re questioning whether to get a professional fitter or whether to have a go at fitting your flooring yourself, you should determine your level of confidence after reading our blog.
Can I Fit Herringbone Flooring Myself?
If you have experience in fitting flooring and are confident in doing so then our step by step guide should allow you to successfully fit your Herringbone Laminate Flooring.
However, should you be a DIY enthusiast, make sure you’ve read our guides carefully and are confident in fitting flooring as improper installation will void warranty.
Prior to Installation
Now we know what you’re thinking, this is the boring stuff! But what’s a little reading when the end result will be a stunning Herringbone Laminate flooring, free from installation mistakes?
We recommend you read these instructions thoroughly prior to installation and follow them carefully. Improper installation will void your warranty.
Your flooring must be acclimatised for at least 48 hours. To do this, leave your flooring in the room it will be laid in, with the boxes open.
When you receive your flooring, you will receive an even number of A boards and B boards. We recommend you separate these into two piles prior to your installation.
When installing your flooring, it is important to note that each board is designed with a four sided click system to allow the boards to slot easily into one another. To create the classic Herringbone pattern, you will need to use board A and board B (the board type should be written on the base). This can be achieved by slotting the shorter side of the board into the longer side of the board at a medium angle.
Tools
The recommended tools you may need to obtain before starting the installation of your Herringbone Laminate Flooring are listed below.
- Straight Edge
- Floating Floor Underlay
- Laminate Flooring Cutter
- Fixed Heavy Duty Knife
- Square Ruler
- Floating Floor Spacers
- Tape Measure
- Jigsaw
- PVA Adhesive
- Pencil
- Knee Pads
Once you’re confident you have the right tools, it’s time to get down to the labour!
Step by Step Herringbone Laminate Installation

Once you’re confident you have the right tools, it’s time to get down to the labour!

Can I lay Herringbone Laminate Flooring?
Now you’ve read through our guide for fitting Herringbone Laminate Flooring, the question as to whether you could fit it yourself or require a fitter is up to you. We hope this guide provides all the knowledge you’ll need to make that decision!
If you're yet to purchase your Herringbone Laminate, browse through our selection of laminate flooring now.
If you have any more questions, please get in touch and one of our flooring experts will be happy to help.


